Pages

Friday, December 30, 2011

GJ Relight - Gizmo for nuke

Here is a new "work in progress" gizmo for Nuke and NukeX to help the creation of relighting node in post-production.

You will be able to use differents lights (Omni, spot, direct and ambient) in post production, you will just need a Position pass, a Normal Pass and the camera of your scene in .FBX.


Important: No shadows support yet.

Thursday, December 22, 2011

Updated demoreel

Here we are, here is my updated lighting, shading and compositing demoorel :

Monday, December 12, 2011

Happy Feet 2

Here we are !! Happy Feet 2 is finished ... I'm doing a new demoreel, but here you can see already some shots I did on the production as Lighting and compositing Artist / TD :


Software :

- Houdini
- 3Delight
- Nuke

Tuesday, October 25, 2011

The Globe making of with Houdini

Et voilà ! un autre tutorial disponible dans la press, merci 3Dmag, cette fois ci c'est un making of de l'image "The Globe" qui a été choisie, c'est également un tutorial sur les base d'Houdini !!

A new tutorial / making of  is available in French press, about the picture "The Globe" it is a making of as well as an introduction to Houdini ! Thanks 3Dmag !


Thursday, September 1, 2011

Nuke Gizmo : GJ Color Correction

I took a bit of time to quickly create a little nuke gizmo for the creation of most common color correction nodes in one groupe (Invert, Color correction, Grade, ExpTool) as well as masking. Useful for quick test.

GJ Color Correction v01


Tuesday, July 26, 2011

Blog standby

Due to the fact that I'll be very busy for these 4 next month ( thanks to my new job at Dr D :) ) there will be less new messages and wip on the blog ... Coming back after the end of Happy Feet 2 !

Saturday, July 23, 2011

Foundry releases NUKE 6.3

The Foundry have released Nuke 6.3 with news features like 3D Particles, Deep Compositing support, Displacement shader and much more !

http://www.thefoundry.co.uk/products/nuke/

Wednesday, June 29, 2011

Last Day !

Here we are ! Today is my last day at Ubisoft, after 5 years I'm going to new adventures :) And that smells good Sydney and Happy Feet 2 ... More informations soon !! :)

Tuesday, June 21, 2011

GJ 3 PointsLight for Maya

I decided to work on a version of my Houdini tool GJ 3 PointsLight, for Maya, with Python. So here is the first version in beta, it creates a simple 3 points light rig attributs on the circle shaphe "Controls" ( Color, intensity, shadows, Position etc. ).

v0.1 UI

UPDATE:

v0.2 (new)

- Positions controls added

v0.1
- More options available like Shadow type, Cone angle, Penumbra, etc.

Thursday, June 16, 2011

Making of and Interview in "3DMag"

Et voilà !le magasine 3DMag m'a demandé pour le numéro hors série un Making of ainsi qu'une petite interview, il est sortit hier ! Merci 3DMag :)


Here we are :) The french "3D Mag" asked me a little interview and a "making of" for the summer number. It's been released since yesterday :) Thanks 3D mag !


Monday, June 13, 2011

How to use Mental Ray Production shader in Maya

Just a quick message to show how to use hidden MentalRay Production Shader ( More in this .PDF ).

There are a lot of very useful shader hidden in MentalRay such as Rayswitcher, Matte/shadow, Mirror/gray ball etc... but they are for the moment not supported by autodesk.

How to see those shaders in the Hypershade ?

First go in the folder : Program Files\Autodesk\Maya2012\scripts\others and find the mentalrayCustomNodeClass.mel and open it with a text editor.

At the end of the file you will find this line " $enableMAPShaders == 0 ) || " change the "0" to "1" save the file, and restart Maya !

If Node are not displayed in the hypershader you can type in the "mel" input the line : createNode + the name of the node for instance :

Sunday, June 12, 2011

GJ 3 Points Light for Houdini

Here is a new digital asset for Houdini ! Just a simple 3 Points lighting Rig with ambiant occlusion. You have acces to every parameters from one window !


Features:

v1.5 (new!):

- GI light added
- Some bugs in Quick render fixed

v1.0a :

- "Quick Render !" button and parameters added
- More display options and transform bugs fixed

Features v1.0:


- Key Light options ( Color, intensity, shadow, attenuation etc.)
- Fill Light options ( Color, intensity, shadow, attenuation etc.)
- back / Rim Light options ( Color, intensity, shadow, attenuation etc.)
- Ambient option ( Ambient occlusion )
- Camera setup
- Position parameters for all lights
- Display options ( Color, Display on / off )

 Lights Rig


Monday, June 6, 2011

GJ CompManage Updated !


 Here we are, a new version of the Nuke Gizmo "GJ CompManage V0.2" is available HERE

News features :

- Unpremult / Premult options
- More color correction options available
- Minor UI changements

The tool is still moving and still in beta.

Saturday, June 4, 2011

GJ Rock IT !


I'm working on a new tool : GJ Rock IT ! To help the creation of rocks, ground, etc. proceduraly, of course :)


Here are somes exemples :


(Still work in progress)

Features:

V0.2a (New !)

- Some UI changements
- A "Bump map" parameter in "Material settings"
- Now you can use R, G, B as well as luminance of a file as bitmap layer.

V0.2

- A new layer available : Crackles
- 2 Modes for the voronoise layer : VoroNoise & WorleyNoise
- News object settings : Edges creases override

V0.1a
- "Rotation" Parameter for all noise layers

V0.1
- 5 noise levels : 2X Perlin noise, Voronoise, Veins, Alligator Noise
- 1 bitmap layer
- 2 displace modes : Object level ( View + Render ) or shader level ( Render only )
- Use as bump ( Render Only )
- Material settings
- Use custom mesh or procedural

Monday, May 30, 2011

FX guideTV about Katana & Deep opacity

On Fxguide website there is a very interesting video from the FMX with lots of information about Katana and the new open EXR 2.0 and the feature of deep compositing, the article (video)  HERE !

Source: http://www.fxguide.com 

EDIT:

More informations on awn.com about the integration of deep compositing in Nuke 6.3 scheduled in June !

Article HERE

Friday, May 13, 2011

GJ SafeFrame

Thanks to Nuke 101 Book by Ron Ganbar, I decided to create a Nuke gizmo witch allow the user to setup 3 safe frames (Title, Action and Custom ) with somes options like size of label, colors, custom label etc.


Thursday, May 12, 2011

Lego WIP

A new work in progress picture :) based on a Lego but in a steampunk style :) here is the first step of modeling :

Wednesday, May 11, 2011

RenderMan Pro Server 16.0

Here we are, Pixar announces the release of RPS 16.0, a lot of changements on the Raytracing engine :

http://renderman.pixar.com/products/news/rps16.0_release.html

Sunday, May 8, 2011

Open EXR 2.0

A quick post about the new Open EXR 2.0 with new deep compositing data, very interesting presentation here :

http://www.deepimg.com/examples/

Saturday, April 30, 2011

Demoreel

My demoreel 2011, CG Artist / TD :


Modeling, Texturing, shading, lighting, rendering & compositing

Software:

- Maya ( MentalRay, Vray, Renderman )
- 3dsmax ( MentalRay, Vray )
- Houdini ( Mantra )
- Nuke
- Photoshop
- Mari
- ...

Tuesday, April 26, 2011

Tips: Change the color of shadow with Houdini

Today we will use the powerfull shader of Houdini to change the color of the shadow.

So fist, create a Mantrasurface in the material palette and assign it to your object which will receive the shadow.

After that go to the SHOP level, double clic on your mantra surface to see the nodes of the shader. Add a "shadowMatte" node

We will use the alpha output of the node, that we will multiply with a color, so we have to convert the alpha ( Float ) to a vector ( like a color ) with the help of a "Float to vector" node. We will also create a "Multiply" node and connect the output of the "floattovec1" to the first input of the multiply node. For the second input of the multiply you'll middle clid and choose "Promote Parameter", a little circle beside the input is created.

Select this circle and in the parameters windows change the type to "Color" and rename it to "ShadowColor" (Name and label)


After that, create an "Add" node just after the "DifuseColor" output and plug the "multiply" ouput to the second input of the Add node :


Now you can use the shadow color ! For now, the parameter is in the bottom of the parameters of the shader to change that clic on the icon on top right and choose "Edit parameter interface"
 

 Move the parameter from the bottom of the list to where you want, for instance, in the "diffuse" folder :


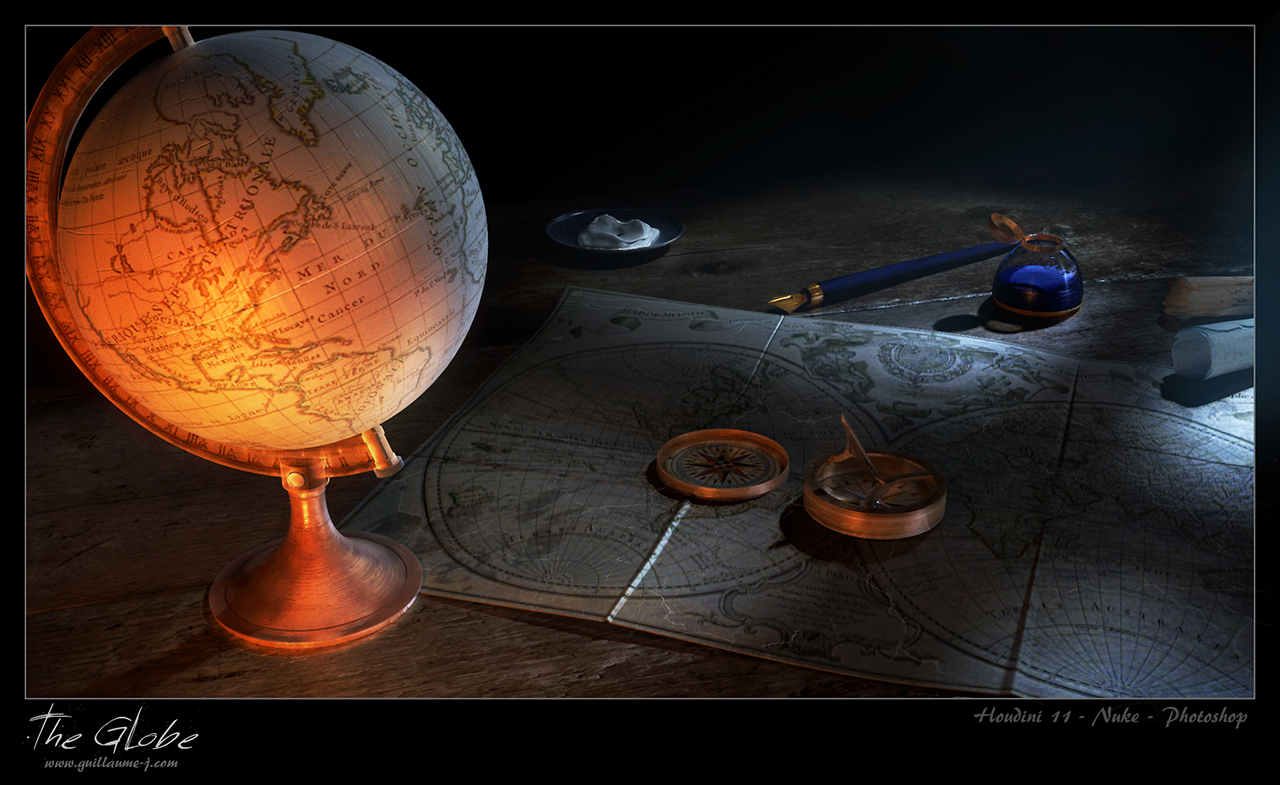
 Now you can change the color of the shadow receveided by a object with its shader :


Monday, April 18, 2011

The Globe, Work in progress

I'm working on a new image with Houdini 11 and Mantra, here is a work in progress image. Lot of work still needed of course, compass not shaded etc...

Last step :) :


Tuesday, April 12, 2011

3D relief test

At my work I've had to make Relief render with 3dsMax & Maya, so I decided to test render also with personal picture, here is a test with my London Phonebox ! The Anaglyph version is done with the stereo cam of maya.


There is a ".mpo" file too, you can visualize the relief effect on your Nintendo 3ds without glasses ! juste copy the .mpo on your SD card, load it with your Nintendo 3ds and ... enjoy :)

Link to the .mpo : LondonPhoneBox .MPO

Any informations : contact@guillaume-j.com

Saturday, April 9, 2011

GJ Shell sop

Here is another otl tool for houdini, a simple shell tool like the "Shell modifier" from 3dsMax.

Clic to enlarge


Features:

- In & Out shell
- Divisions In & Out
- Inset
- Apply to Primitives group

Zen...

Here is a picture rendered in Houdini 11 with Mantra, I used Houdini for the whole picture, exept the sky & tree in the background done with photoshop. Some compositing done also in Nuke 6.

Houdini 11, Mantra, Nuke, Photoshop

Tuesday, March 22, 2011

Houdini extrude +

I created a simple houdini sweep tool with more controls, like 2 ramp attributs to change scale & rotation along the path. For more information, watch the video & see the readme file in the .zip :)


Houdini Extrude+ from Cetras on Vimeo.

Thursday, March 10, 2011

GJ Wall GEN

A test of SOP tool created for my next picture that will be done with Houdini ( Mantra ) and Vue 9.


GJ_WallGEN v0.3 from Cetras on Vimeo.

Vimeo link

Some features & Update :


GJ Wall GEN V0.3b & c

- Default value now makes square wall
- Under bricks size adjustement

GJ Wall GEN V0.3a 

- Cutter's step size attribut

GJ Wall GEN V0.3

- Custom bricks pattern from bitmap
- 2 Layers for bitmap Cutter

GJ Wall GEN V0.2

- Two Bricks pattern : Regular & Random
- Bricks extrusions noise

GJ Wall GEN V0.1

- Bricks Size / Freq
- Wall size
- Material
- Bricks Jitter
- Bricks bevel
- Bitmap Cutter
- and more...

Tuesday, March 1, 2011

House in the sky


A little illustration done with E-on Vue9 ( for clouds ), Maya, Photoshop and SpeedTree for the Tree.


Clic on the picture for large version.

Tuesday, January 11, 2011

-GJ CompManage- for Nuke

CG CompManage is a little gizmo to help the compositing of differents passes in Nuke. Directly created from "LondonPhoneBox" WIP, you can easily tweak passes from an .exr file.


CG_CompManage (clic for large image):

See the ReadMe.txt file for more information.

New version, v0.3 : Ambiant occlusion pass is now used correctly